October 2, 2018
•
5 min read
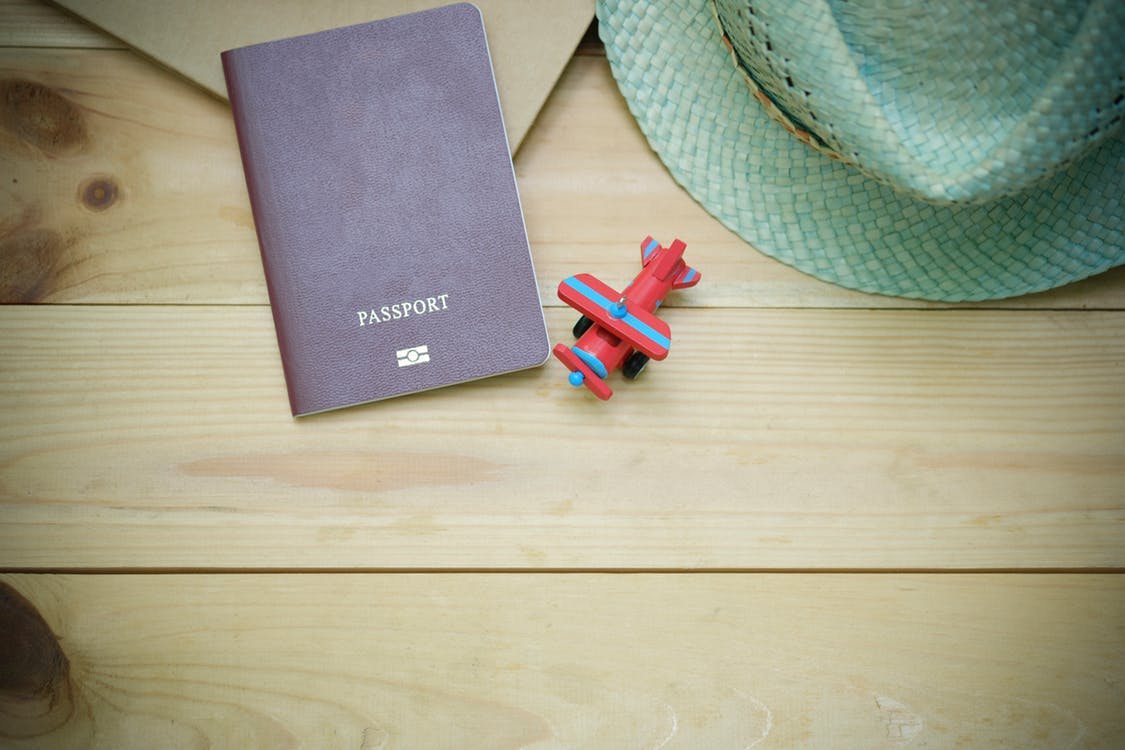
How to Get a Mexican Passport if a Parent Is a Mexican Citizen
Recently, my father inserted me as a Mexican citizen, and I was issued a Mexican passport. This is a process that the parent must do, so I asked my dad to write a bit as to what steps he took to make me a citizen. Then I added the steps that I took.
Rafael Bracho
Insurance Expert

Recently, my father inserted me as a Mexican citizen, and I was issued a Mexican passport. This is a process that the parent must do, so I asked my dad to write a bit as to what steps he took to make me a citizen. Then I added the steps that I took to get my INE and passport. We hope this helps those who want dual citizenship in their quest to get their own Mexican passport when a parent is a Mexican citizen.
My father wrote:
To become Mexican, a person may be born on Mexican soil, or they can be direct descendants by blood. “By blood” is for those who are children of Mexicans, but they were not born on Mexican soil. This contrasts the children of foreigners born in Mexico are Mexicans by land. Of course, there are people who become Mexicans through the process of naturalization, acquiring the citizenship after being a resident, etc., quite similar to the American process.
So the process of recognizing someone who is Mexican by blood but was born outside Mexico is called “insertion”, because they insert the person in the system—in particular the “Civil Registry”—which is the organization that holds birth certificates in Mexico. As you can imagine, it involves essentially proving that at least one of the parents was a Mexican citizen. In the simplest case, it is the Mexican parent who drives the process and then the documents are issued to said parent—recognizing that the child has been registered as Mexican.
STEP 1 – Obtaining Your Apostille Birth Certificate:
It all starts by obtaining a birth certificate of the child that may be accepted as such by the Mexican government. First you have the birth certificate sent to you which costs around $15 or $20 USD, depending on your state. When you receive the birth certificate, then you pay another $15 to $25 dollars to get your Apostille certification. For us, this process took a couple months for us to receive our certified birth certificate. So you know, many states require the person requesting the birth certificate to be a family member or related in some way.
Mexico accepts the Apostille process, by which a birth certificate is recognized worldwide. Interestingly enough, neither the states of New York nor Texas issue Apostille birth certificates. As far as I know, Mexico simply accepts them as is, but there may be only specific forms and/or counties that are accepted. My son was born in Pennsylvania, and thankfully the Commonwealth of Pennsylvania does issue Apostilles.
In Pennsylvania, the birth certificates are issued by the Department of Health, in Harrisburg. The birth was recorded in the county in which the child was born (Allegheny County for Pittsburgh). The birth certificate itself must be certified to be a true record of what is kept on file. In the case of Pennsylvania, the records are kept in the Division of Vital Records of the Department of Health. So, we obtained a birth certificate and a certification statement; together they are often called a “certified birth certificate”.
Then an Apostille document is issued on the birth certificate and the certification statement, stating that the signature in the certification statement is authentic, that by occupation and legal standing, the person issuing the Apostille is qualified to sign such document, and—if available—that the seal is true and valid in Mexico—i.e. that it is not counterfeit document. In particular, the Apostille does not deal with the content of the document. It does not say that the birth certificate is accurate. That is what the certification statement is meant to accomplish.
So, we have a birth certificate saying that a child was born in certain place, at a certain date, and from certain parents—where at least one of them is Mexican. In addition, we have a certification statement saying that the birth certificate is a true and accurate copy of what is kept in the books at the Division of Vital Records—or equivalent in other states. Finally, we have an Apostille saying that the certification statement was properly signed and sealed, and by a person who was allowed to make such a statement.
STEP 2 – Obtaining Your Spanish Translations:
For the next step in obtaining your translations, we have to find a translator who is certified as a perito traductor. The word “perito” is often translated as “expert”, so “perito traductor” is literally an “expert translator”. However, it is a qualification certified by a branch of the Mexican legal system.
In the case of trying to get the insertion done in the state of Morelos, the certification is extended by the “Tribunal Superior de Justicia del Estado de Morelos”, and it is made public by such tribunal in the “Boletín Judicial”, or Judicial Journal of the state of Morelos. Therefore, a qualified translator takes the certified birth certificate apostille and translates in into Spanish.
The result is a page in Spanish for each one in English. It ended up being three in this particular case (as mentioned in Step 1), and all bore the stamp and signature of the translator, who is basically vouching that the text in Spanish is equivalent to the original in English. The translator adds a page with his/her credentials.
STEP 3 – Registering Your Child with the Civil Registry
Armed with the translated Apostille, we then go to the Registro Civil (the place where one normally registers infants born in Mexico), to apply for the insertion of a citizen into the Mexican registration. After paying a fee and waiting a couple of days, we obtain two basic documents:
-
A record that the parent presents the documents, in English and Spanish, to request the insertion. It must be noted that although the term used within the Registro Civil is “insertion”, the documents speak of “Inscripción”—akin to “registration”. I never understood why there exist two terms. Nevertheless, this document is signed by the parent, who also places his fingerprint, and is accepted by the Officer of the Civil Registry (his/her signature and stamp are also in the document). It states that the request has been accepted and recorded in a particular page of a particular book.
-
A certificate issued by the same Civil Registry—equivalent to a Birth Certificate—stating that the request has been granted, and the child has been inserted in the records of the state (and thus the country). Although the text of this certificate is essentially the same as the request, it only bears the signature and stamp of the Officer of the Civil Registry, because it is essentially a statement of what was recorded in the books—much like a birth certificate states all the data surrounding the birth, which is recorded in the books.
In addition, since the Civil Registry is also the place where one obtains a citizen’s Unique Key of Population Registry—or CURP for its initials in Spanish—then you are also given a copy of the CURP document. The CURP is built from the name, birth date, birth place, and gender of the person, along with two “homologation” characters.
It is noteworthy that the mother’s maiden name is a legal part of a person’s name in Mexico (and many other countries), so the CURP is built using it. However, since the United States does not use that convention, the CURP uses the letter ‘X’ where a letter would be obtained from the mother’s maiden name. This is because the American birth certificate dictates the name which is legally inserted into the Registro Civil. Thus, the name omits the mother’s maiden name.
Also, the CURP uses a two-letter code for the state in which the person was born—for instance ‘MS’ denotes Morelos. For people who were inserted, the letters ‘NE’ (Nacido en Extranjero or “born abroad”) are used. Other than that, the CURP is identical to that of a Mexican by birth on Mexican soil.
STEP 4 – Getting your INE:
Once the “Inscription Certificate” is obtained, the newly-accepted Mexican may proceed to fully integrate him/herself, mainly by getting a voting card (INE). This is the most common document in Mexico. It is similar to a driver’s license in the US. It stands for Instituto Nacional Electoral, and it is the document that enables you to vote in any Mexican election. This document also has your picture and address, and is used universally throughout Mexico as your standard I.D.
Unlike a driver’s license in the United States, having an INE is your right as a Mexican citizen, and obtaining one is free at no cost to you. You simply find the INE office nearest to you—there is one in every major city—and you wait in line or go by appointment to obtain your card.
You will need to bring:
-
Your new Mexican birth certificate (and bring your CURP document just in case).
-
An electricity, water, or a telephone land-line bill to confirm your address (it doesn’t have to be in your name).
-
There’s the catch to obtain your INE. You have no record in Mexico—and no previous Mexican photo ID because you have just become a Mexican citizen. (They will not accept an American photo ID. Trust me, I waited in line and tried it.) Therefore, you will need to bring two witnesses who are both Mexican citizens, and they must have their INE with them to testify that you are the person you say you are.
You will receive your INE in about ten days.
STEP 5 – Getting your Passport:
Next you head to the Secretaría de Relaciones Exteriores (SRE) nearest to you in Mexico. Appointments are typically available in a few weeks, so if you’re in a rush then make your appointment early.
You need to bring two passport pictures (they are about 50 pesos at any photography shop in your home town). These are not the pictures that will be included into your passport. The passport photos are taken where you get your passport.
You also need to bring all the previous paperwork that you have completed, copies of your new Mexican birth certificate and your CURP (they will keep these copies), and then you go through a process of taking your photo. In Mexico, the passport is issued the same day. Therefore, many people go to lunch and pick up their passport that afternoon.
Paying for Your Passport:
There may be other ways of paying for your passport, however this is how we did it. Payment of your passport fees are done at any Mexican bank branch. You can do it online with some banks, you will have to check with your own Mexican bank.
You will need your CURP, the name you will be putting into the passport, and you must know how long you wish your passport to be valid. The validity of your passport will determine the amount you will pay in fees. You will be issued a deposit receipt which is valid for 5 years. This receipt is what you take with you to your passport appointment along with all your other material.
As of January 1st, 2019 the cost of a Mexican passport is:
- 1 Year – $610 MXN
- 3 Years – $1,265 MXN
- 6 Years – $1,735
- 10 Years – $2,670
*There is a 50% discount for senior citizens over the age of 60, those with disabilities, or those working in agriculture in Canada.
For more information on requirements, or how to set up an appointment, click here.
Interested in getting health insurance while living abroad? Get a free quote today by clicking below.
Rafael Bracho
Insurance Expert & Writer
For several years, Rafael has been crafting articles to help expats and nomads in their journey abroad.
